The Git Command That Could Have Saved You Hours
Git has a great feature called bisect that helps pinpoint commits. Whether it's a bug, a change in behavior, or any unwanted change introduced by a single commit, Git bisect can help you identify the offending commit to resolve the issue.
A relatable story
Picture this: it's Friday afternoon, you're wrapping up work, and suddenly a critical bug surfaces that requires immediate attention due to customer escalation. Sound familiar? You scramble to find where the bug was introduced, identify the root cause, and resolve it as quickly as possible. The clock is ticking, pressure is mounting, and you're gathering information frantically.
We've all been there, and most of the time things aren't as straightforward as we'd like them to be. In one particular situation from my early days, I spent several hours troubleshooting and releasing a hotfix. Looking back, I could have handled the situation much more smoothly if I had leveraged Git's powerful debugging capabilities—specifically git bisect (https://git-scm.com/docs/git-bisect).
What is Git bisect?
I discovered git bisect about a year ago when I was looking to deepen my Git knowledge, and it's been a game-changer for debugging. As illustrated in the story above, this powerful tool helps you identify which specific commit in your project's history introduced a bug or unwanted change.
The concept is elegantly simple: you mark a "bad" commit (one that contains the bug) and a "good" commit (one that existed before the bug was introduced). Git bisect then performs a binary search, automatically checking out a commit roughly at the midpoint between these two boundaries. You test this commit and tell Git whether it's "good" or "bad," and the process repeats, continuously narrowing down the range until it pinpoints the exact commit that introduced the change.
While I've focused on finding buggy code, Git bisect is versatile and can locate any commit that changed a specific property of your project. Whether you're looking for the commit that fixed a bug, caused a performance regression, or changed system behavior, bisect has you covered. You can even customize the terminology—for instance, using "old"/"new" instead of "good"/"bad" for non-bug-related searches. Use git bisect terms to check what terms are currently valid, or git bisect start --term-old=old --term-new=new to set custom terms from the beginning.
How Git bisect works
In the scenario I mentioned earlier, Git bisect would help me identify the cause of the issue much more quickly and systematically. It searches through your commit history to find the "culprit" commit that introduced the problem.
The beauty of bisect lies in its simplicity: you only need two reference points—a "good" state and a "bad" state. You don't need to know the exact timeline of when things broke (if you knew that, you wouldn't need bisect in the first place!). Simply provide a tag, commit hash, or branch name for each end of the range, and Git bisect will efficiently narrow down the search space using binary search principles.
This approach is incredibly efficient—for example, if you have 1000 commits between your good and bad points, bisect will find the problematic commit in just 10 steps (log₂(1000) ≈ 10).
Pro tip: You can streamline the initial setup by using a one-liner: git bisect start <bad-commit> <good-commit> instead of the 3 separate commands shown in the example below.
When to use Git bisect
Use Git bisect when you have a reproducible signal you can classify as "good" or "bad" and want to locate the first commit that changes it. Common scenarios:
- Bug introduction: a feature starts failing, a test begins to fail, or an error appears.
- Performance regression: a benchmark or production metric slows down or resource usage spikes.
- Dependency or toolchain upgrade breakage: after bumping dependencies or build tools, builds/tests/runtime start failing; bisect across your repo's commits to find the change that interacts badly with the upgrade.
- Behavior change: API contract, CLI output, UI behavior, configuration defaults, or file formats shift unexpectedly.
If your signal can be automated (e.g., a test or script that exits 0 when "good" and non-zero when "bad"), consider using git bisect run to let Git do the search for you.
Example walkthrough
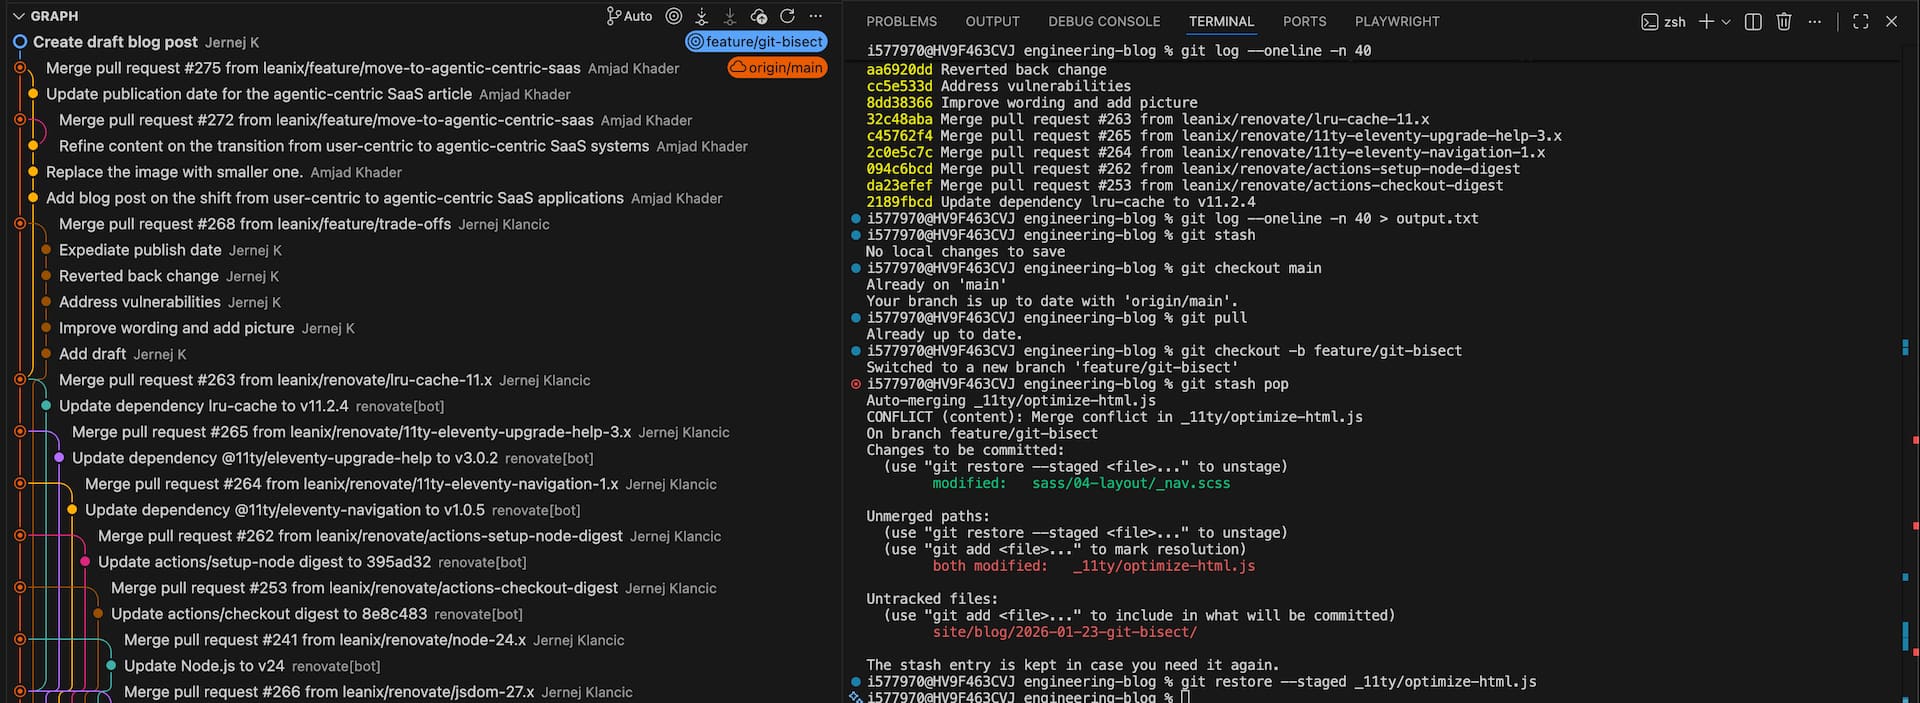
Let's imagine we have the following git history:
d011dda3 Merge pull request #275 from leanix/feature/move-to-agentic-centric-saas
662e7d47 Update publication date for the agentic-centric SaaS article
07b51425 Merge pull request #272 from leanix/feature/move-to-agentic-centric-saas
0eb2bdd1 Refine content on the transition from user-centric to agentic-centric SaaS systems
b3235acd Merge pull request #268 from leanix/feature/trade-offs
63686d2c Expedite publish date
0a6685a5 Replace the image with smaller one.
a38ca094 Add blog post on the shift from user-centric to agentic-centric SaaS applications
aa6920dd Reverted back change
cc5e533d Address vulnerabilities
8dd38366 Improve wording and add picture
32c48aba Merge pull request #263 from leanix/renovate/lru-cache-11.x
c45762f4 Merge pull request #265 from leanix/renovate/11ty-eleventy-upgrade-help-3.x
01396982 Update Node.js to v24
3d47d2b6 Update dependency sass to v1.96.0
42e2ff13 Update dependency jsdom to v27.3.0
90c5958f Update dependency @11ty/eleventy-upgrade-help to v3.0.2
9561c35f Update dependency @11ty/eleventy-navigation to v1.0.5
11c23965 Update actions/setup-node digest to 395ad32
9ef0c429 Update actions/checkout digest to 8e8c483
Let's assume we noticed a behavior change in commit 07b51425 and we know the behavior worked correctly in commit 11c23965. We now have our starting and ending points, with the problematic change somewhere between these commits.
Step 1: Start the bisect process
git bisect startStep 2: Mark the bad commit
Since we know 07b51425 contains the problem, we mark it as bad:
git bisect bad 07b51425Step 3: Mark the good commit
For the good commit, choose an earlier revision where you're confident everything worked correctly:
git bisect good 11c23965Step 4: Begin the binary search
With both endpoints established, Git starts the bisecting process and checks out a commit roughly in the middle:
Bisecting: 16 revisions left to test after this (roughly 4 steps)
[01396982] Update Node.js to v24
Step 5: Test and classify
Now you need to test this commit. Run your application, execute your tests, or reproduce the behavior you're investigating. Based on the results, classify this commit:
- If the problem exists:
git bisect bad - If the problem doesn't exist:
git bisect good - If you can't test this commit (e.g., build fails):
git bisect skip
Step 6: Repeat until found
Git will continue checking out new commits based on your feedback. Each iteration roughly halves the remaining search space until it identifies the exact commit that introduced the change.
Step 7: Finish the process
Once Git finds the culprit commit, it will display information about it. To exit bisect mode and return to your original branch:
git bisect resetAutomation with git bisect run
For even more efficiency, you can automate the entire bisect process. As with any bug, you usually start by writing a test that reproduces the issue. Imagine we have a bug in our formatter — we write a test to verify the expected behavior:
import { formatFileSize } from "../formatter.js";
import { describe, it } from "node:test";
import assert from "node:assert";

describe("formatFileSize function", () => {
  it('should return "1.00 GB" for sizeBytes = 1073741824', () => {
    assert.strictEqual(formatFileSize(1073741824), "1.00 GB");
  });
});
Once the issue is reproducible via (unit) test, you create a temporary script to run the new test:
#!/bin/bash

# Run the specific test that's failing
node --test formatter.test.js

# Capture the exit code from the test runner
# Node's test runner exits with:
# - 0 if all tests pass (good)
# - non-zero if any fail (bad)
# - 125 to skip this commit (same as git bisect skip)
exit $?
Don't forget to make the script executable. Once you have these two components ready, you can automate the entire bisect process with these steps:
git bisect start
git bisect bad HEAD
git bisect good v1.2.0
git bisect run ./test-script.sh
Git will automatically run your script for each commit and classify it based on the exit code, completing the entire bisect process without manual intervention. This is particularly powerful for regression testing and performance analysis. Once you're done, you can simply delete the script since it has served its purpose.
Best practices and pitfalls
Best practices:
- Create deterministic tests: Make your testing signal reproducible—ideally through automated tests or scripts rather than manual verification
- Automate the process: Use
git bisect run "<test-command>"when possible (the script must return with exit code 0 for good commits, != 0 for bad ones, and 125 to skip untestable commits) - Choose solid anchor points: Mark the observed broken state as bad (often HEAD) and select a known stable commit/tag as good
- Maintain a clean environment: Keep your working tree clean and rebuild from scratch to avoid stale caches affecting results
- Control dependencies: Use lockfiles and pin dependencies to prevent version drift during the bisect process only when you're certain the dependency changes didn't cause the bug — otherwise, let each commit use its original dependency versions to maintain historical accuracy
- Understand detached HEAD: Remember that bisect operates in detached HEAD state — avoid making normal commits and consider stashing work-in-progress or using a separate worktree
Common pitfalls to avoid:
- Flakiness: Non-deterministic tests or environments can misclassify commits and mislead the search
- Unbuildable commits: Some commits may not build or run due to transient changes or incomplete migrations — use
git bisect skipfor these - Complex merge states: Midpoint commits might land on merge commits or complex states that are difficult to test — be prepared to skip when necessary
- Forgetting to exit: Leaving bisect mode keeps you in detached HEAD — always run
git bisect resetwhen finished - Contaminated state: Local uncommitted changes can invalidate results—stash or commit your work before starting bisect
Conclusion
Git bisect is an invaluable tool that transforms the often frustrating process of bug hunting into a systematic, efficient search. By leveraging binary search principles, it can quickly pinpoint problematic commits even in large codebases with thousands of commits. Whether you're dealing with critical production bugs or investigating performance regressions, mastering Git bisect will save you countless hours of debugging time and reduce the stress of those Friday afternoon emergency situations.
Published by...

Jernej Klancic
Visit author page